Wednesday, April 11, 2012

Rec Room Progress: Finished Desk, Window Treatments, & Stairs!

The last you saw of our new desk, we were mid-project staining the top...


...and assembling the bases:


We had gotten the idea to use this organizing system as our desk base when I saw them at Michael's and spotted these flyers:


And this one made me drool...can you imagine a huge expanse of wall like this, soley dedicated to crafting?! Be still my heart :)


So once the desk top's acrylic coat was dry (we did three coats), we used Liquid Nails to attach it to the base.

Here's the before and after, side-by-side: Cue drum roll!.............................


                                  BEFORE                                                               AFTER

It's nice and long with a ton of work surface...I'm very happy with how it turned out.


Here's a view from the other side, standing in the new doorway:  


Those items standing up on the right side of the desk against the wall are organizers (hanging files/magnetic boards and cork boards). I plan to hang them on the wall, maybe on either side of the window.

Speaking of the window, did you notice the new window treatments?


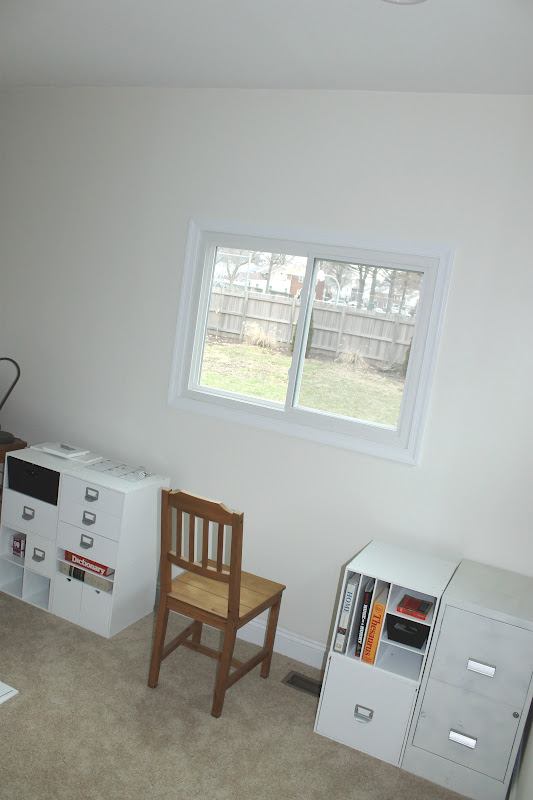
It used to look so nekked here in the BEFORE pic, haha:
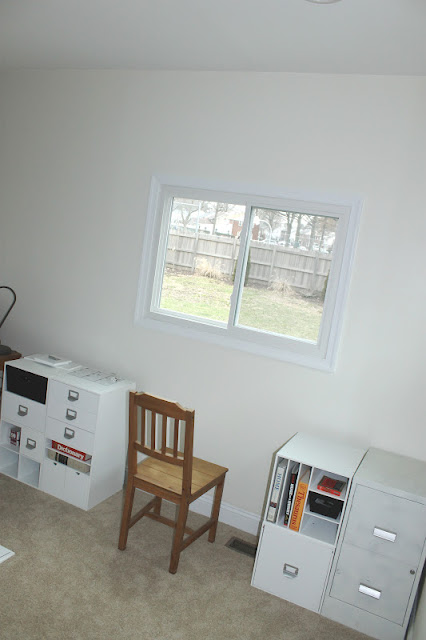


Instead of curtains, which would've come to a hefty price (2 panels + rods per window x 4 windows), we decided to go with roman shades from JCPenney (from this inspiration pic). We ordered them when they were having an awsome sale, and I was able to use a $10 off reward coupon on top of the sale price. Yeah, we saved a boatload. And that made me just as happy as the new desk we DIY'd :)


Since raising the ceiling height when we renovated the room, we hung the shades higher than the actual window. It's a decorator trick to, A-make the window seem bigger than it is, and B-help fill the void between the window and ceiling, and it draws your eye up to notice the room's height.

Here, you can see we hung the shades about 12 inches above the window trim:


But here you can hardly tell, and it just makes the window feel much bigger:


Even with the shades drawn, I especially love all the natural light that still comes in. They provide the perfect amount of light + privacy.


Now let's take a closer look at what we've got on the desk top. 
On the right side I bought some magazine holders and a pretty binder (from Target), and a white storage box from Michael's:


The & and @ book ends are from Michael's too. And in the middle of the desk, centered under the window is the computer and pens & pencils in three stainless steel organizer cups:


I like the aesthics of them as well as the function. Plus they were 99 cents each from Goodwill  :)


On the left side we set up our printer. And in the storage baskets are the computer modem, wifi receiver, and other gadgets with cords that are concealed nicely within:


In the base systems below, we were able to stash a TON of other desk supplies (think stapler, tape, paper clips, envelopes, CDs, printer paper, etc.)...


...as well as some go-to books we like to have on hand, like Home Improvement for Dummies :) , and drawers for filing.


Next, here are a few shots that complete the 360 degree view of the room:

left of the desk

Down the road, we're thinking of maybe building a thin but tall bookshelf to the left of the desk, in between the two windows (right where the stack of blankets and pillows are sitting temporarily in the pic above). I'd love it if the bookshelf went floor to ceiling...GLORIOUS!
 
looking out toward patio

In the pic above, I still need to figure out a better setup for Winston's food/water station...and ignore the step stool. Maybe waaaaaay down the road once we have more kiddos we could do a little mudroom setup with a bench under the window (with storage cubbies underneath) and a place to hang backpacks and fling shoes...like this AWESOME inspirational mudroom:

linked to here but no original source listed

...one day :)

Here's the side of the room containing the half bath and washer/dryer:


And here is the finished doorway and steps! :)


The last time I blogged about this part of the reno it still looked like this:


I panted the risers white and stained the treads to match the existing color of the platform and stairs they connect to (that lead to the living room and 2nd level).


It turned out AWESOME! The stain I used couldn't have been a more perfect match!

I hung some vintage art prints vertically, again to compliment the room's height, but also because they're of a 1920's era swimmer (I was on the swim team in high school) doing the backstroke and it shows each step of the stroke, starting with the beginning position at the top and ending with the final position at the bottom:


The best part about this art project was that it cost me $5. Yes, you read that right - only 5 dollas, HOLLA! :)

The prints were free (from an online museum collection that allows you to print them free for personal use) and the 5 black frames with mats were $1 each from the the Dollar Tree :)


The blue glass jug was Mike's Nana's and I stuck some faux spring branches in it to compliment the yellow in the swimmer's bathing suite and help brighten up the room.


Decor-wise, that area of the new room is now one of my favorite spots :)

The rec room has certainly come a looooong way, for sure:

                                             BEFORE                                                            AFTER


                                          BEFORE                                                               AFTER


Anyone else makeover an office, half bath, or laundry room recently? Anyone else as crazy as us and try to pack all 3 into one room? :) Btw, it's the best thing since sliced bread ;)

Wednesday, April 4, 2012

A Rockin Good Time, and A Plethora of Pillows

I inherited this rocking chair from my grandparents after they sold their home. I have fond memories of my Grandpa sitting in it in the living room - it was "Grandpa's chair", and if you were in it when he wanted to sit down, you got up, haha :)

He loved this chair, and now I'm so happy I get to love it too. It became mine a few years ago, but even then I had plans for it and knew exactly what its new purpose in life would be...our son's nursery rocker:


I wanted to soften it up a bit (you know, since I'll be nursing our baby and reading to him quite frequently in it, so comfort is key) so I added that seat cushion you see above. I had it on hand (bought it a few years ago) and it was a perfect fit for the wide seat.
I also pictured a back cushion for it but didn't want to pay the hefty price that's attached to a nice, tufted pillow back (the cheapest I came across was $45 for a 2 piece set from JC Penney but I already had the seat cusion and only needed the back).

So I set out to make my own less expensive version:


I bought all my supplies at JoAnn Fabric. I found a 2-inch thick foam remnant, batting, heavy duty upholstery thread, piping, 2 yards of white linen-like fabric, extra long sewing needles, colorful buttons (which I ended up not using for this project but plan to for another), a button covering kit, and my handy-dandy Heat n Bond - that stuff's MAGIC! :)

I set the foam piece on the back of the rocker and eyeballed its size. It was a bit tall...


...so I cut off about an inch and a half of it from the bottom:


Then, to give it a plusher feel (and cover all that bright green since my fabric was white and semi see-through) I laid it on my batting and cut out around it:


When I was done cutting, I had these two pieces:


And then I used craft fabric glue to adhere them to the foam:


I went all crazy on the glue :)


And I let it dry while I got to work on another part of the pillow project: The piping.


Since I don't have use of my sewing machine, I used the trusty Heat n Bond to make my piping.

I laid the piping thread out on my white fabric...


Then tucked a long sliver of Heat n Bond along the edge of the piping thread, and folded about a half inch of fabric over top it...


...then I used my iron to set the heat n bond and VOILA! I had custom piping for the edges of my soon-to-be pillow:


Here's what it looked like after I used more Heat n Bond to iron it onto my front piece of fabric for the pillow:


The corners were tricky :)...


And now, through the magic of the internet (I'll spare you the hours it took to measure, iron, cover the buttons and sew), I give you the finished, tufted rocking chair cushion!:


Here's a close-up of the tufting - it's my favorite part :)


And here it is 'styled', all decked out with a neutral pillow cover over the seat cushion, a bright & fun green pillow I made, and a navy blue striped throw blanket:


Also, see the vertical striped pillow on the toybox in the above photo? Yup, made that too, from this fabric I got and showed you in this post.


I used the navy fabric to make the crib skirt and the striped and green fabrics for pillow covers.

And while we're on the subject of pillow covers, I had been wanting a BIG pillow to be able to toss around (like throwing it on the floor during play time) and I wanted the fabric to be bold, fun and wild - after all, the nursery's theme has a jungle animals vibe :)

Cue this fabric remnant I got for 75% off at JoAnn's:


This stuff is quality home decor fabric. It's heavy duty - PERFECT for the rough and tumble days I can see in its future :) 

It was orginally $50 a yard (that's CA-RAZY!) but since it was an odd yardage left on the bolt (and I'm assuming maybe a discontinued fabric) it was priced at 75% off $37.49...I got this 3/4 yard of fabric for under $10! SCORE!!!!!

And it was just enough to cover this euro pillow I already had been using in the guest bedroom:


I love it!!

I threw it in the crib for now (don't worry, it's strictly decoration til baby arrives, then it gets the boot):


Oh, as for a cost comparison, I was able to make all the pillows in this post (plus a few more not seen!) for the same price it would've cost me to buy just the rocking chair set from Penney's....another reason DIY is oh so fly! ;)

I still owe you guys an updated rec room desk post, along with pictures of the finished nursery (it's DONE!). But in the meantime, anyone else on a DIY pillow kick? It's kind of addictive, right?...once you make one you can't stop! :)
    
Related Posts Plugin for WordPress, Blogger...