Over the past couple of posts (here and here) I've been featuring some before and after pics of our rec room to showcase how far that room has come since 2009.
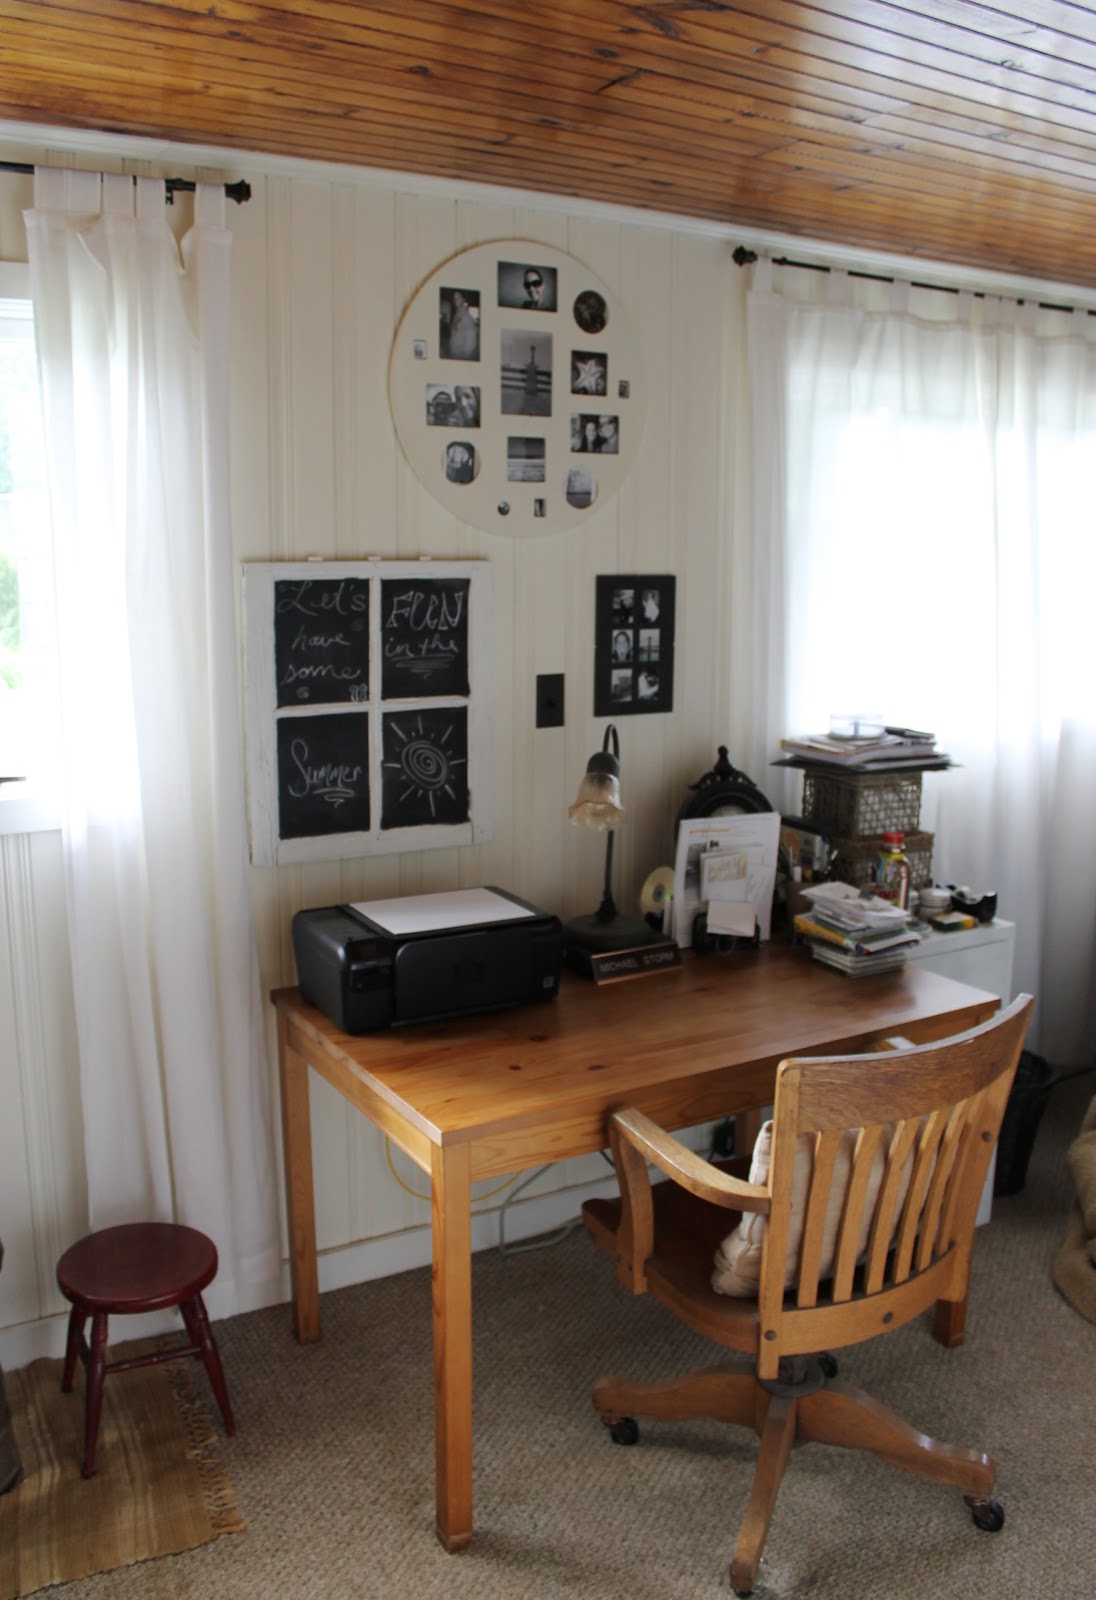 |
| Current photo |
 |
| Current photo |
In the future (as in hopefully-in-the-coming-weeks kind of future!) we're looking to:
- insulate the walls (this addition to our house was never insulated properly when built)
- get new energy-efficient windows
- create a niche for laundry, (washer/dryer are in the basement now - hate it!)
- make a designated space for playtime - you know, for future kiddos that come into our world :)
- install new carpeting on half the room's floor for said future kiddos
- lay tile on other half of floor (in front of patio door) and in the bathroom
- add a new doorway that leads into the living room.

In this floor plan I drew up, can you see where the living room and rec room meet? The two rooms are separated by a wall.
If you're in the living room (Point A) and want to go into the rec room (Point B), you have to go all the way around the house in a ridiculous circle illustrated below:

It's SOOOO annoying! I mean, it's not a big house, but having to walk that crazy c-shaped route EVERY time I want to visit the room just on the other side of the wall makes me ca-RAZY!
Creating a doorway between the two rooms will allow for a more functional layout/flow. Let me show you where we plan to put the doorway:

The grey box indicates the half bath and storage closet in the rec room, and the circle labeled 'create doorway here' is self explanatory :)
Since the rec room is actually an addition put in by previous owners, there's a window in the living room (which I painted over like I did here) right there where my circle is.
Let me explain that with a real-life photo and my drawing placed side-by-side:


That's taken from the living room side of the window.
And this pic is taken from the rec room side of the window (see the formerly exterior brick and the closet/bathroom wall to the right?):

Since there's already a window there, we plan to knock it out along with some brick to frame out a nice opening for a pass-through between the two rooms.
I got antsy one night and started the job already :)

Taking a metal putty knife and hammer to the grout lines wasn't working so well though.
It was time to get messy:

Soon I had three rows of glass blocks down and it was looking like this:

Wooohooo! I could see into the other room!! :)
After it all came down, this was the view (sorry for the bad night lighting and camera phone quality):

Here's the only glass block from this demo project that came out in one piece. Yeah, there was a lot of glass:

Here's a before and after of the view from the living room into the rec room:
BEFORE AFTER

And from the rec room into the living room:
BEFORE AFTER

There's sooooo much more light in the rooms now, especially the living room. I love it and can't wait until we can actually walk through a doorway there and easily go from room to room!
I'll update you on that process once it's started. We're going to hire a professional for that since framing out a doorway is beyond our scope of DIY skills. Right now we're having a few contractors give us bids on the job and then we'll go from there...SO EXCITED!
How bout y'all? Anyone make their home's floor plan more functional with a pass through or other change-up? I know YHL has one in the works for their dining room/kitchen.
No comments:
Post a Comment